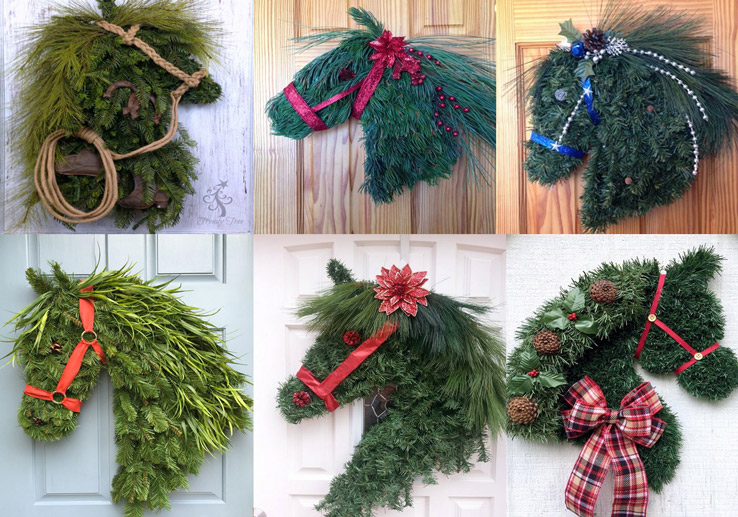
Alrighty, everyone knows that our Lifestyle editor Maddy Pasqualini is our go-to for anything decor or crafty oriented. However, since she decided to head to NY for holiday inspiration we had to rely upon a hand-full of websites to come up with this supposedly easy to perform DIY so that you can make your own Horse Head Wreath. Our selection was easy, once the site mentioned heavy work gloves we kept on looking. We were able to come across what seems to be an easy solution thanks to Garden Answer youtube video which required little crafty knowledge beyond the use of a glue gun! We wanted to use the easiest route we could find, but we know some of you smarty pants out there will take it to the next level and make it your own. For you busy bees out there with little time we made it easy and included a link where you can purchase one.
For those of you taking on the challenge just remember not all horse heads are alike. You can let your creative craftiness go and make your own personal pony wreath any way you want to!
What you need:

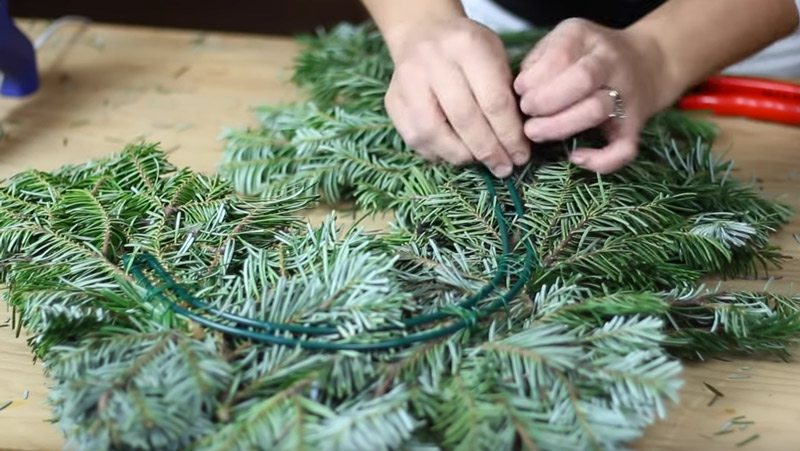
A candy cane shaped wire form
Paddle wire
Hand pruners
Scissors
A pine cone or black coat button for eyes and nose
Bows or Adornments of your choice
A glue gun
a ton of glue sticks
Ribbon
Faux or real branches of fur and pine
douglas or silver fur ..real pieces from home depot or neighborhood xmas tree stand
princess pine..same or choose a brushy type pine
STEPS
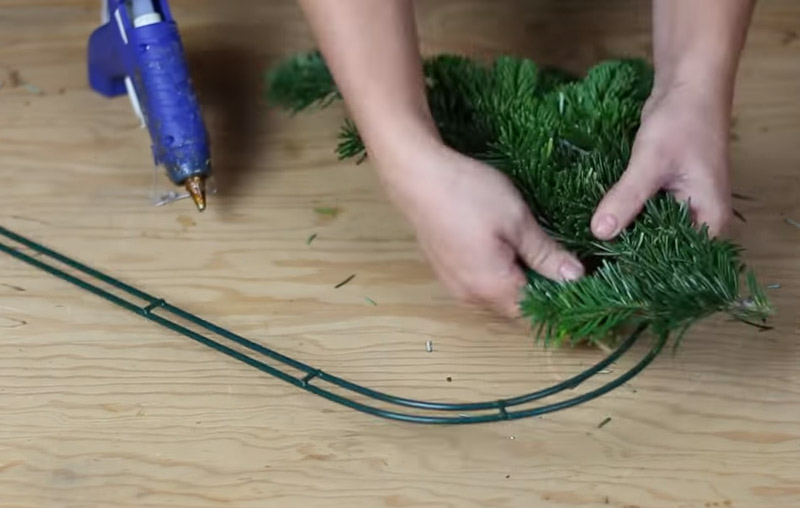
Bend your wire form just a bit, spreading it out to look more like a horse head
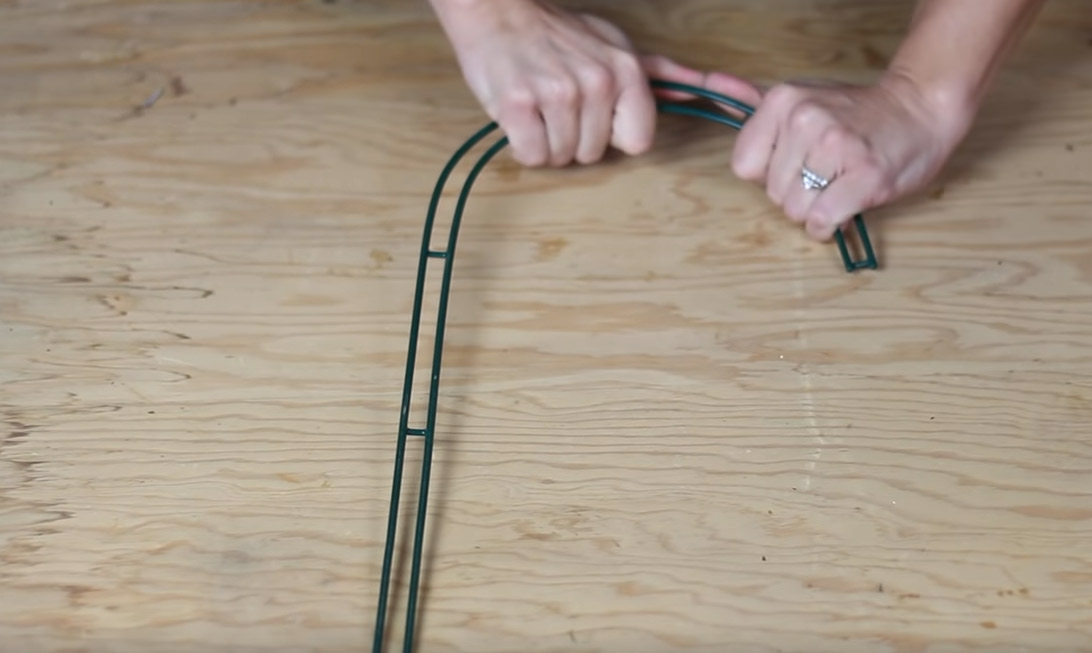
Wrap your paddle wire around the shorter end securing it tight.

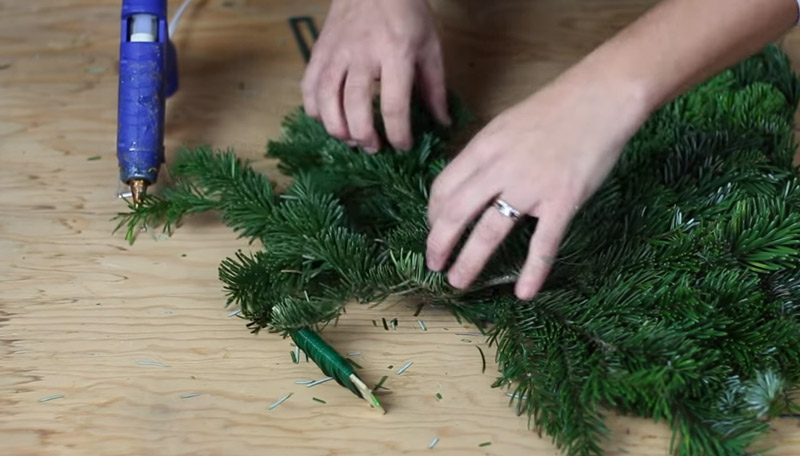
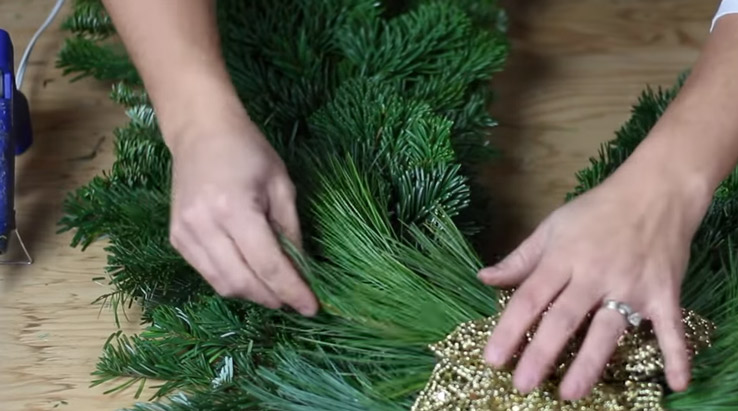
Take the silver fur pieces and start attaching it to the form. Make sure to keep attaching to the form and filling in weak spots (use glue gun) until the shorter end of the form, your horse face, is full and thick.
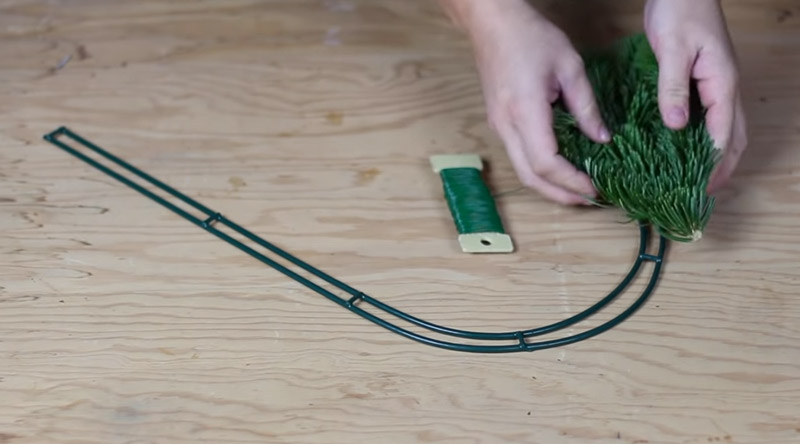
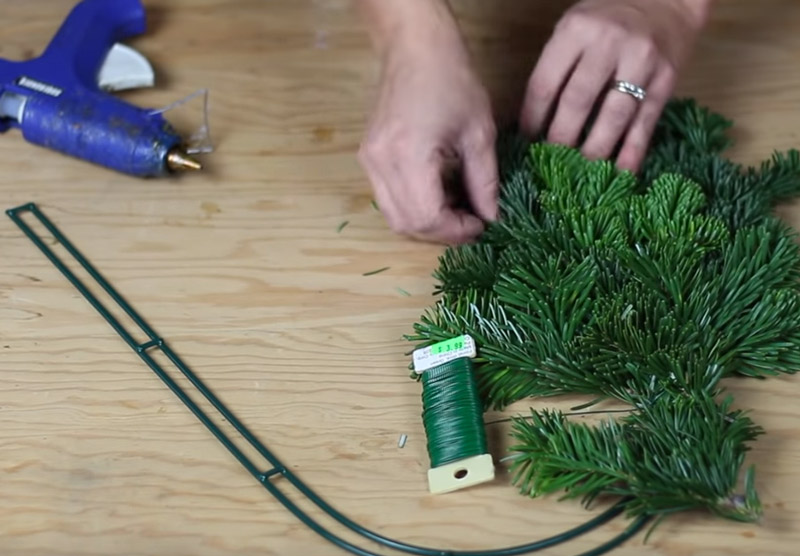
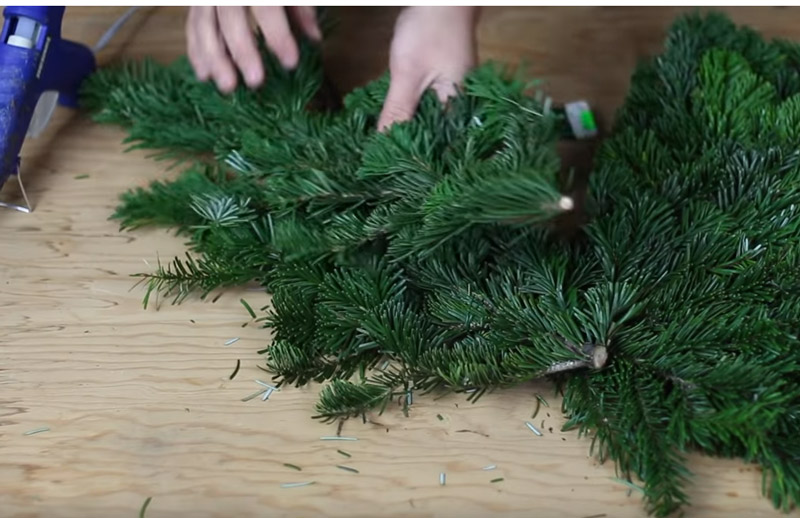
The tricky part. This will take some time. You will want to carefully and slowly go in and start to prune your ends and keep trimming until it begins to resemble a horse head. Take it slow, it’s easier to trim a little here and there than to add more on if you go too short.

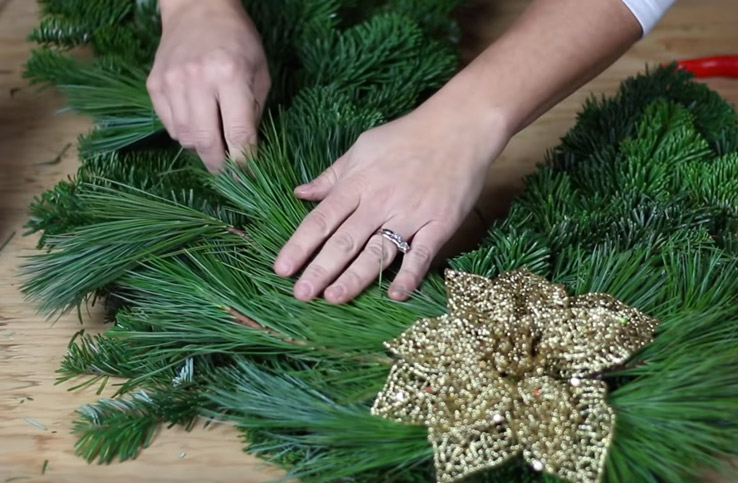
Now it’s time for the neck. Use larger and bushier pieces of the silver fur and begin to move up the form securing it with your paddle wire and move your way down to the bottom of the form. Keep in mind it can look a little wild or bushy as you are going to add the pine and other adornments.
When you are done with the neck, cut your paddle wire and securely attach it to the back of the form.
Next, grab your bow or choice of adornment and glue it to the top of the head for reference and then start gluing pieces of the pine along the form to make up the mane and forelock. Keep adding pine pieces until you have your desired look. To fill in missing areas just glue the ends and stick them into the open spots.


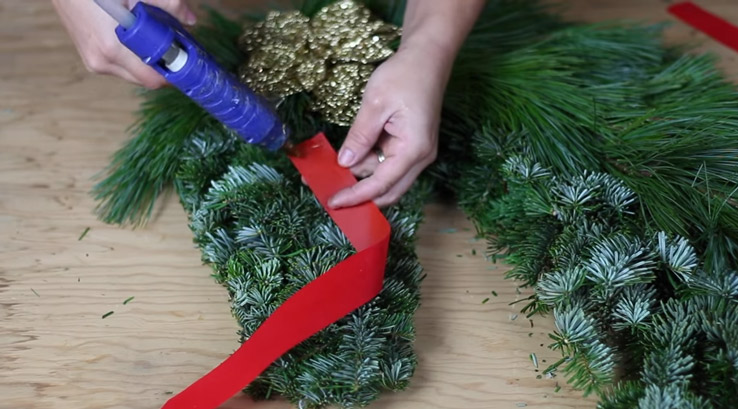
Time to finish! For the bridle / halter you can really use whatever color ribbon you would like. Go ahead and glue it on! for the eye and nose you can use a Coat button or a pine cone piece and glue it one!
What it should like! Yay Garden Answer on You Tube for helping us out on this one!